

„Welcome“ may sound like a strange name for Netatmo’s Web-enabled security camera, but the camera expresses the camera’s purpose: „There’s always something at the front door to welcome invited guests, and the proper authorities to any unwanted activity.“
The Welcome performs the basic features of a home security camera well, without a lot of bells and whistles – except for the actual whistles that comes with your computer or smartphone. Its truly unique feature is remarkably well.
Welcome to indoor camera with face recognition capabilities. Welcome senses motions and detects faces or when Presence detects cars, animals or humans.
Each detection is considered an event, and the cameras generate timelines of events (motions, face detected, car detected etc …).
Users can choose what they think is relevant to record in their settings. For Presence, users can choose their settings where they want to record. They can select specific areas for alerts, called alert zones. Only the events within these alert zones will be recorded.
Events are recorded and stored locally on the SD card that goes with every camera, depending on those above mentioned preferences.Following a FIFO model, as soon as the SD card is full, the oldest videos get deleted and disappear from users‘ timelines.
For each event, the camera takes a snapshot and records a video. The snapshot is displayed in the timeline.
Accessing the Netatmo Data Servers:
Using Netatmo Smart Home API, you can retrieve users‘ home events and timelines, browse through past events, access videos and event snapshots. To retrieve data from Netatmo cameras, you have to use the Netatmo Data Servers. Authorization code grant is required for authentication. User should be able to remove his camera from the 3rd party application. For getting the authentication (access tokens) we are programming in PHP / Python and running the code on the local host (server).
Using PHP –
Steps-
- Installing the XAMPP application for creating a server.
- Creation of the Apache servers to execute the PHP codes.
- Creation of the Netatmo app on the Netatmo development pages.
- Modifying the code with the client id and client secret according to the web app created on netatmo pages.
- Running the PHP code on the local browser using the link something like this http: //localhost/php/WEB_AuthorizationGrant_Example.php? Start = Start & error = redirect_uri_mismatch & state = 660769866
Code Snipets
<? Php
/ *
* Authentication to Netatmo Servers using Authorization grant.
This script has to be hosted on a web server in order to make it work
* For more details about Netatmo API, please take a look at https://dev.netatmo.com/doc
* /
define ( '__ ROOT__', dirname (dirname (__FILE__)));
require_once (__ROOT __. '/ src / Netatmo / autoload.php');
require_once 'Config.php';
require_once 'Utils.php';

// API client configuration
$ config = array ("client_id" => $ client_id,
                "client_secret" => $ client_secret,
                "scope" => Netatmo \ Common \ NAScopes :: SCOPE_READ_STATION);
$ config ['client_secret'] = 'rS0oKZmPmcQSxmcqeKEkcNDFVi3bk5fQI3yN49';
$ config ['scope'] = 'read_camera';
$ client = new Netatmo \ Clients \ NAWelcomeApiClient ($ config);
$ client = new Netatmo \ Clients \ NAWSApiClient ($ config);

// if code is provided in get param, It Means user has accepted your app and has been redirected here
if (isset ($ _ GET [ "code"]))
{
    // get the tokens, you can store $ tokens [ ' refresh_token '] in order to retrieve a new access_token next time
    try {
        $ tokens = $ client-> getAccessToken ();
    }
    catch (Netatmo \ Exceptions \ NAClientException $ ex)
    {
        echo "An error occured while trying to retrieve your tokens \ n";
        echo "Reason:". $ ex-> getMessage (). "\ n";
        the ();
    }
    // retrieve user's weatherstation data
    try {
        $ data = $ client-> getData ();
    }
    catch (Netatmo \ Exceptions \ NAClientException $ ex)
    {
       echo "An error occurred while retrieving data:". $ Ex-> getMessage () "\ n".
       the ();
    }

    if (! isset ($ data ['devices']) ||! is_array ($ data ['devices']) || count ($ data ['devices']) <
        the ();
    }

    // In this example, we only want to deal with the first weather station
    $ device = $ data ['devices'] [0];

    // last month report
    $ reports = getMonthReport ($ device, $ client);

    // get device timezone
    if (! Is_null ($ device) &&! Empty ($ device))
    {
        if (isset ($ device ['place'] ['timezone']))
            $ tz = $ device ['place'] ['timezone'];
        else $ tz = 'GMT';

    // print data
?>
<Html>
<meta charset = "UTF-8">
    <Body>
        <div style = "text-align: center;"php echo $ device ['station_name']; ?> </ h2>
            <p> id: <? php echo $ device ['_ id']; ?> </ P>
<? Php
printDashboardDataInHtml ($ device ['dashboard_data'], $ tz);
foreach ($ device ['modules'] as $ module)
{
    printModuleInHtml ($ module, $ tz);
}

    if (! is_null ($ reports) &&! empty ($ reports))
    {
         echo "<div style = 'display: inline-block; vertical-align: top; text-align: center; margin: 15px;'>" ;
         echo "<h3> Month report </ h3>";
                 printDashBoardDataInHtml ($ report, $ tz);
             else echo "<p>". $ report. "</ p>";
         }
         echo "</ div>";
    }
 ?>
        </ Div>
    </ body>
</ html>
<? Php
    }
}
else {
    // OAuth returned an error
    if (isset ($ _ GET ['error']))
    {
        if ($ _ GET ['error'] === "access_denied")
            echo "You refused to let this application access your Netatmo data \ n ";
        else echo "An error occured";
/ html> <? Php
    }
}
/ **

* @param array data:
* @brief: Print general data of a device in HTML
* /
function printDashboardDataInHtml ($ data, $ tz)
{
    foreach ($ data as $ key => $ value)
    {
        echo "<p>";
        echo $ key. ":";
        if ($ key === 'time_utc' || preg_match ("/ ^ date_. * /", $ key))
        {
            printTimeInTz ($ value, $ tz, 'j FH: i');
        }
        else {
            echo $ value;
            print unit ($ key);
        }
        echo "</ p>";

* @param string $ tz device's timezone
* @brief print a Netatmo Weather Station's HTML module
* /
function printModuleInHtml ($ module, $ tz)
{
    echo "<div style = 'display: inline-block; vertical-align: top; margin : 15px; text-align: center; '> ";
    echo "<h3>". $ Module ['module_name']. "</ H3>";
    echo "<p> id:". $ module ['_ id']. "</ P>";
    echo "<p> type:";
    switch ($ module ['type'])
    {
        case "NAModule1": echo "Outdoor";
            break;
        case "NAModule2": echo "Wind Sensor";
            break;
        case "NAModule3": echo "Rain Gauge";
            break;
        case "NAModule4": echo "Indoor";
            break;
    }
    echo "</ p>";
    printDashboardDataInHtml ($ module ['dashboard_data'], $ tz);
    echo "</ div>";
}

/ **
* @param array $ device
* @param NAWSApiClient $ client
* @return array $ report: array with device or module as keys, and their data as the month
* values retrieve month data for a device and its modules
* /
function getMonthReport ($ device, $ client)
{
    $ report = array ();
    // step between two measurements
    $ scale = '1month';
    $ type = "Temperature, CO2, Humidity, Pressure, Noise, max_temp, date_max_temp, min_temp, date_min_temp, max_hum, date_max_hum, min_hum, date_min_hum, max_pressure, date_max_pressure, min_pressure, date_min_pressure, max_noise, date_max_noise, min_noise, date_min_noise, max_co2, date_max_co2, min_co2, date_min_co2 ";
    // main device
    try {
        $ measure = $ client-> getMeasure ($ device ['_ id'], NULL, $ scale, $ type, NULL, "last", NULL, FALSE, FALSE);
        $ measure = addMeasureKeys ($ measure, $ type);
        $ report [$ device ['_ id']] = $ measure;
    }
    catch (Netatmo \ Exceptions \ NAClientException $ ex)
    {
        $ report [$ device ['_ id']] = "$ device ['_ id']. ":". $ ex-> getMessage ();
    }

    foreach ($ device ['modules'] as $ module)
    {
        switch ($ module ['type'])
        {
            // outdoor
            case "NAModule1": $ type = "temperature, humidity";
                 break;
            // wind sensor
            case "NAModule2": $ type = "WindStrength, WindAngle, GustStrength, GustAngle, date_max_gust";
                 break;
            // Rain Gauge
            case "NAModule3": $ type = "sum_rain";
                break;
            // Indoor
            case "NAModule4": $ type = "temperature, Co2, humidity, noise, pressure";
                break;
        }
        try {
            $ measure = $ client-> getMeasure ($ device ['_ id'], $ module ['_ id'], $ scale, $ type, NULL, "last", NULL, FALSE, FALSE);
            $ measure = addMeasureKeys ($ measure, $ type);
            $ report [$ module ['_ id']] = $ measure;
        }
        catch (Netatmo \ Exceptions \ NAClientException $ ex)
        {
            $ report [$ module ['_ id']] = "Error retrieving measure for". $ module ['_ id']. ":". $ ex-> getMessage ();
}
/ **
* @param array measures: measure sent back by getMeasure method
* @param string $ type: types of measure requested
* @return array $ measurements: array of measures mapped by type
* @brief add the type as a key for each measure
* /
function addMeasureKeys ($ measures, $ type)
{
    $ measurements = array ();
    $ keys = explode (",", $ type);
    foreach ($ measures as $ measure)
    {
           foreach ($ measure as $ key => $ val)
           {
               $ measurements [$ keys [$ key]] = $ val;
           }
    }
    return $ measurements;
}
?
During the process, the following errors were faced – 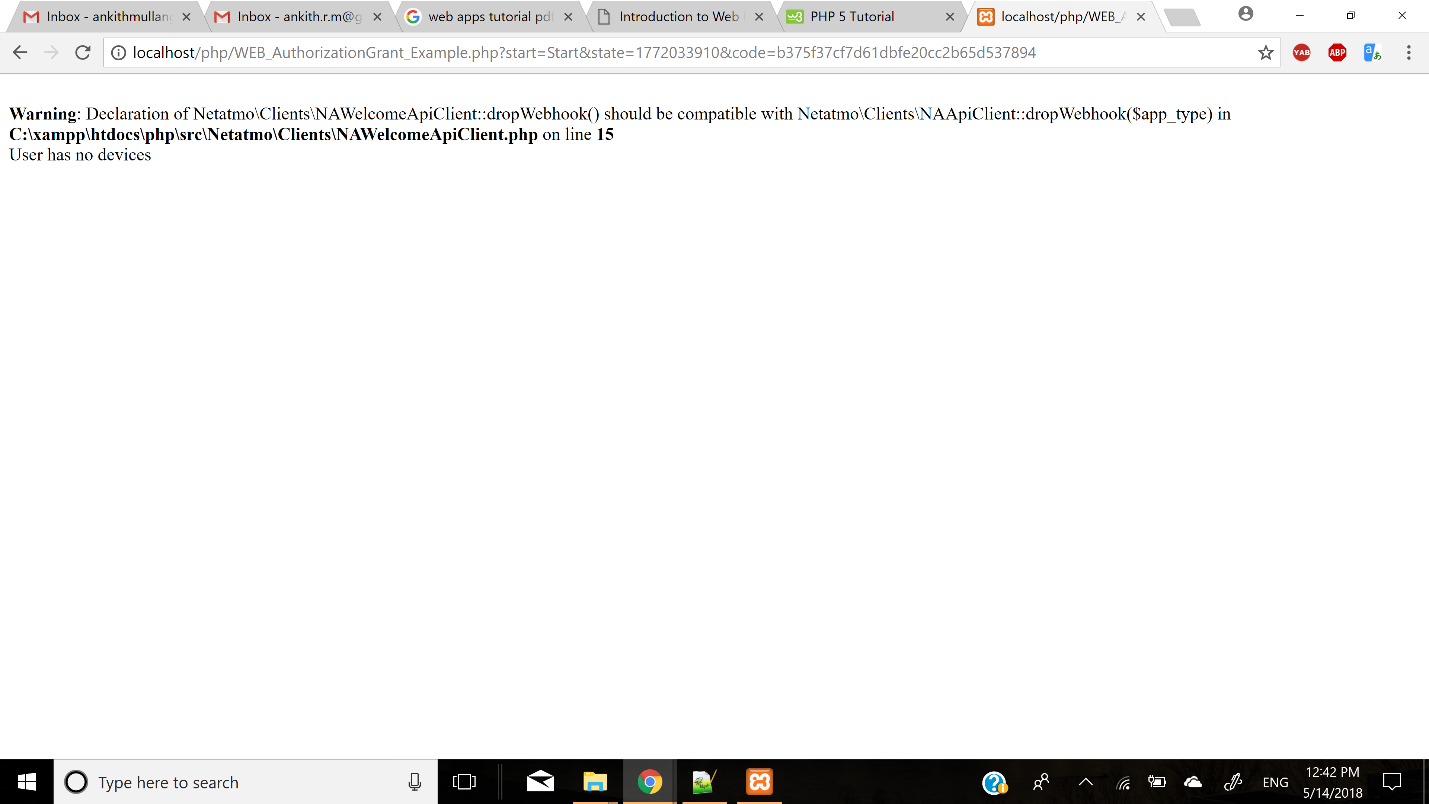
Error 1 – The device was successfully registered with the netatmo development account.

Error 2- an error occurred which could not be resolved.
Error 3 – As suggested by the Netatmo Developer community, we tried putting the same code in the Postman software.
References –
Netatmo Developer Program https://dev.netatmo.com/resources/technical/introduction
PHP Basics – https://www.w3schools.com/pHP/default.asp
Using Python –
The following link was used for obtaining the access token using Python.
https://dev.netatmo.com/resources/technical/samplessdks/codesamples
Steps –
- Installation of Python 2.7x or 3x (Common errors with python installation – internal or external command not found, Solution inclusion of path in system path variables, Refer to image 1.2). Download latest version of Python from-https://www.python.org/downloads/
- Install the Pip library in python ( https://pip.pypa.io/en/stable/installing/ )
- Install the necessary libraries using ‚pip install xxxxxx‘ command in command prompt (Flask, Request)
- From the link above, modify the code with your client id and client secret.
- Run the python code using the command prompt.
Code Snipets –
from flask import Flask, render_template, redirect
from flask import request as r
import requests

app = Flask(__name__)

@app.route('/')
def sign():
return "<form action='/signin' method='get'><button type='submit'>Sign in</button></form>"

#Authorization Code type authentication flow
@app.route('/signin', methods=['GET'])
def signin():
# Test if "code" is provided in get parameters (that would mean that user has already accepted the app and has been redirected here)
if r.args.get('code'):
code = r.args.get('code')
payload = {'grant_type': 'authorization_code',
'client_id': '[5b0c5adb923dfe4ece8babb2]',
'client_secret': '[rS0oKZmPmcQSxmcqeKEkcNDFVi3bk5fQI3yN49]',
'code': code,
'redirect_uri': 'http://localhost:5000/signin'}
try:
response = requests.post("https://api.netatmo.com/oauth2/token", data=payload)
response.raise_for_status()
access_token=response.json()["access_token"]
refresh_token=response.json()["refresh_token"]
scope=response.json()["scope"]
return "<p>Your access_token is:" + access_token + "</p>"

except requests.exceptions.HTTPError as error:
print(error.response.status_code, error.response.text)
# Test if "error" is provided in get parameters (that would mean that the user has refused the app)
elif r.args.get('error') == 'access_denied':
return "The user refused to give access to his Netatmo data"
# If "error" and "code" are not provided in get parameters: the user should be prompted to authorize your app
else:

payload = {'client_id':"[5ae4d16aac34a592b18c0707]",
'redirect_uri': "http://localhost:5000/signin",
'scope': '[read_camera]',
'state':'[SOME_ARBITRARY_BUT_UNIQUE_STRING]'}
try:
response = requests.post("https://api.netatmo.com/oauth2/authorize", params=payload)
response.raise_for_status()
return redirect(response.url, code=302)
except requests.exceptions.HTTPError as error:
print(error.response.status_code, error.response.text)

if __name__ == "__main__":
app.run()
The following shows the Errors faced during the process
When you are doing the same thing, you are saying „You are entering the development servers, please use WSGI servers“.
Since the previous method did not work for us, the
following has been used for obtaining the access token using Python.
https://dev.netatmo.com/resources/technical/samplessdks/codesamples
This method is the creation of the python web app on the Azure cloud server using PowerShell.
The steps to follow are in the Following link:
https://docs.microsoft.com/en-us/azure/app-service/app-service-web-get-started-python
The same code used for this method. The following shows the errors
